Introduction
Ever wondered how a bread maker transforms simple ingredients into a delicious loaf? Bread makers have simplified the art of bread making, turning it from a complex task into something anyone can do at home with minimal effort. By understanding the inner workings and functionalities of a bread maker, you can maximize its use and make perfect bread every time.

The Basic Components of a Bread Maker
To fully grasp how bread makers work, it’s crucial to familiarize yourself with the basic components that make up these machines.
Bread Pan
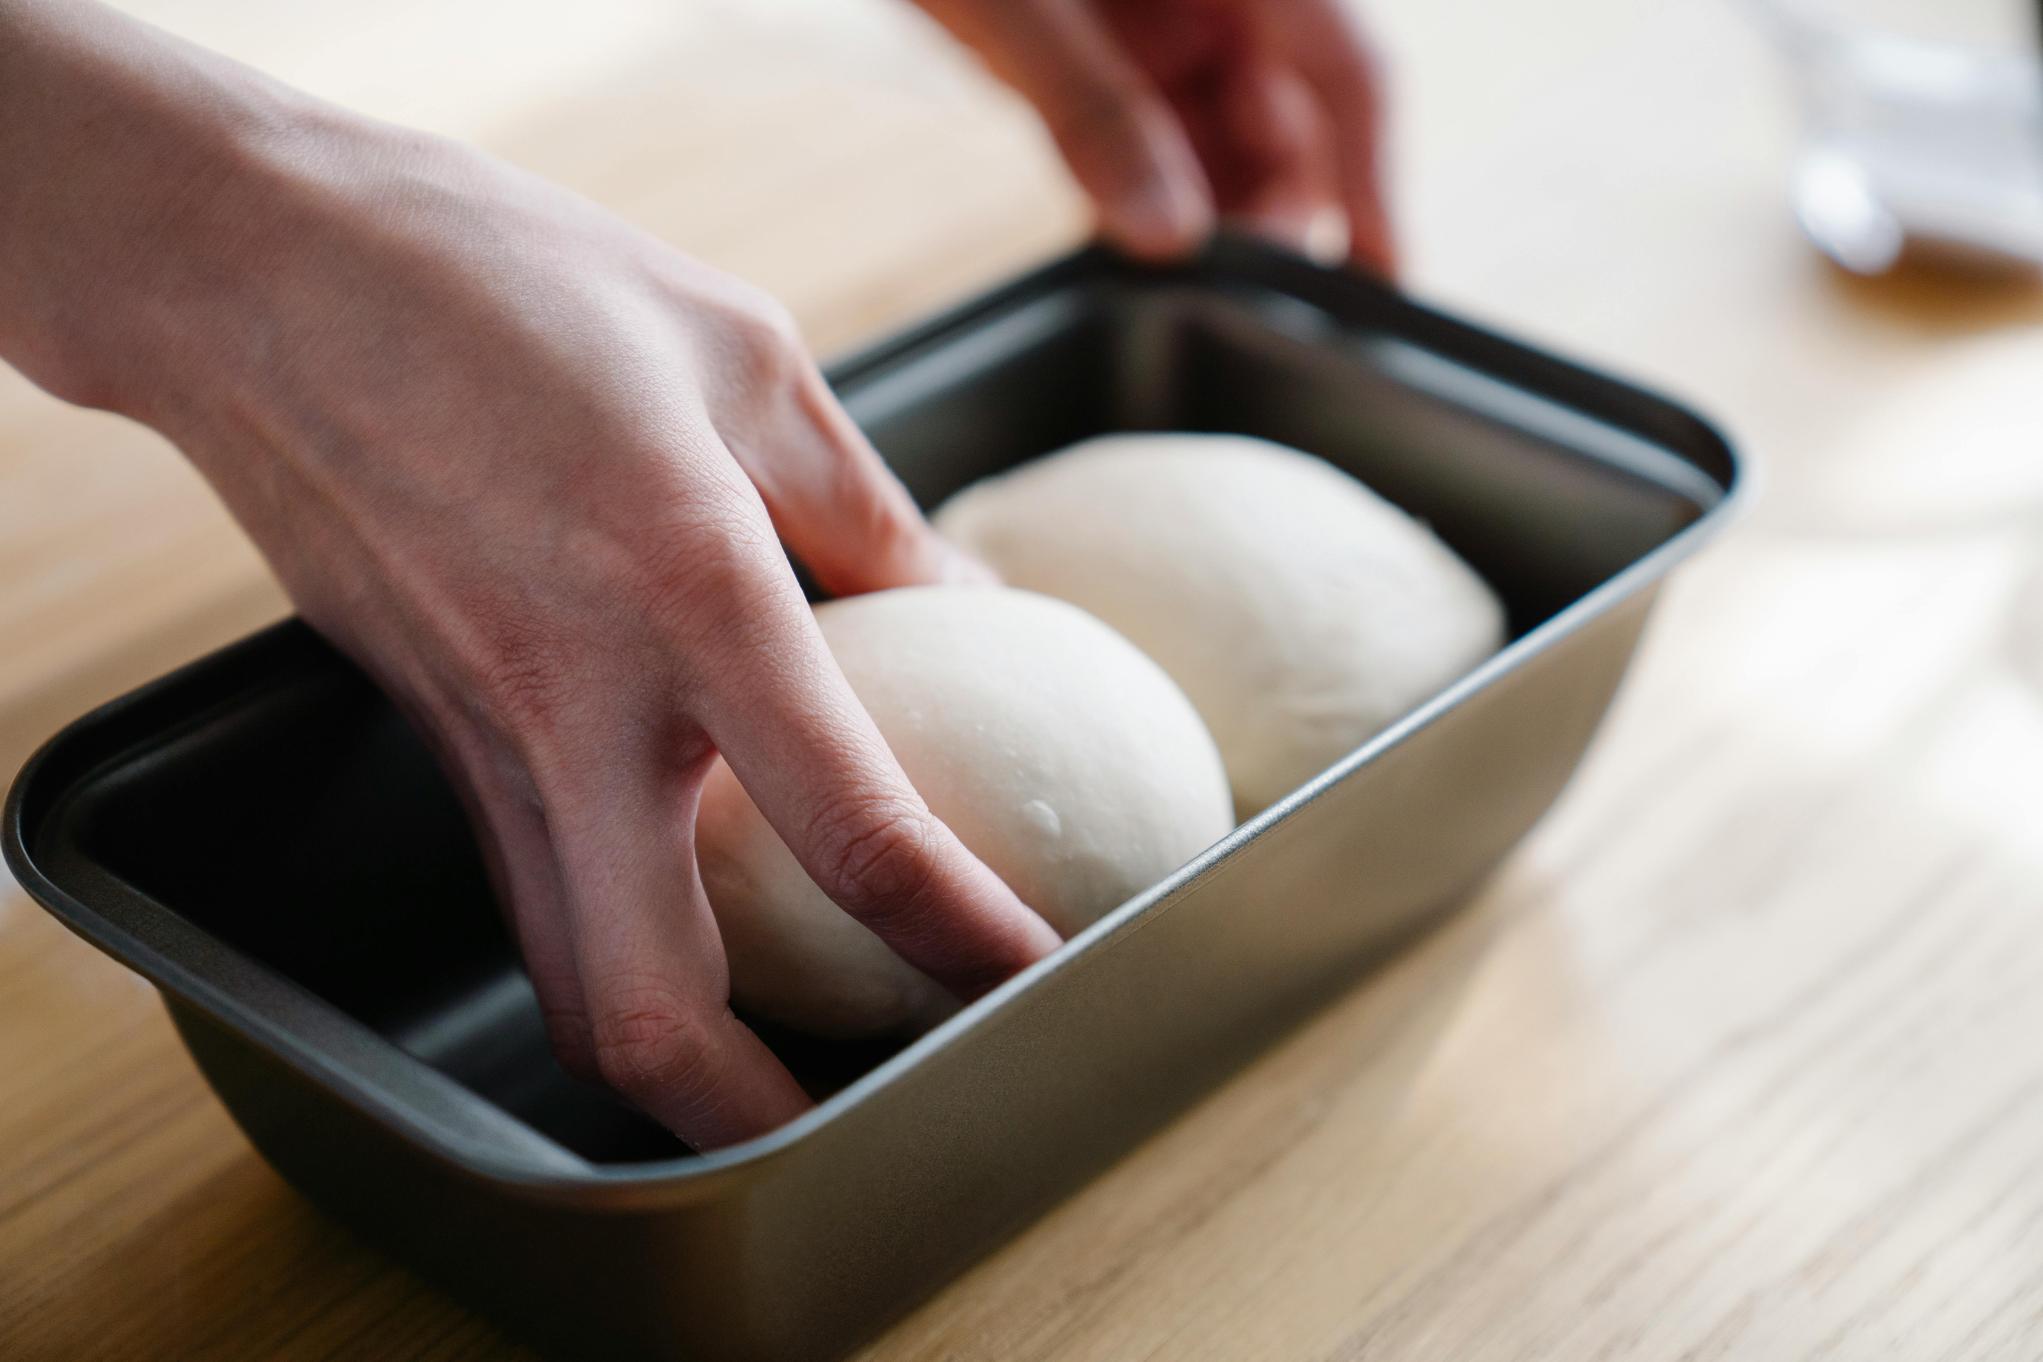
The bread pan is the removable container where you place your ingredients. It’s typically non-stick, making it easier to clean. The pan also has the shape and size that will dictate the final form of your bread.
Kneading Paddles
These small yet vital parts rotate to mix and knead your ingredients. Some models come with dual paddles for more effective kneading, ensuring the dough is well-mixed and stretchable.
Control Panel
The control panel is your interface with the bread maker. It’s where you select the type of bread you’re making, set the timer, and choose any additional settings or programs. Advanced panels may also feature touchscreen displays and programmable options for a more personalized bread-making experience.
Heating Element
Located at the bottom of the bread maker, the heating element is responsible for baking the bread. It ensures even heat distribution to bake the loaf uniformly. The heating element also maintains the temperature needed for proper dough rising.
Understanding these components helps you appreciate how the machine works as a whole, providing a smooth transition into the specifics of the bread-making process.
The Bread Making Process
Bread makers operate through a series of automated steps, simplifying what traditionally would be a labor-intensive process.
Measuring and Adding Ingredients
Precision is key in bread making. Bread makers come with measuring tools to ensure accurate ingredient portions. Typically, you add the liquids first, followed by the dry ingredients, and finally the yeast. The yeast should be placed last and kept separate from the liquids until kneading starts.
Kneading
Once you press start, the kneading paddles begin their work. They mix and knead the ingredients into a well-formed dough. This crucial step develops gluten, which gives the bread its structure and elasticity.
Rising
After kneading, the dough enters the rising phase, where it’s left to ferment and expand. The bread maker maintains an optimal temperature to activate the yeast, allowing the dough to rise adequately. Depending on the recipe, this process may be repeated a second time to ensure the best texture.
Baking
In the final phase, the heating element takes over. The bread dough is baked at a preset temperature for a specific duration. As it bakes, the dough firms up to form the bread’s crust while the inner part remains soft and fluffy.
This structured sequence makes the often-complicated process of bread making approachable even for beginners.
Different Settings and Programs
Bread makers offer various settings and programs to cater to different types of bread and user preferences.
Basic Bread
This is the standard setting suitable for most white and whole wheat bread recipes. It covers all the fundamental steps from kneading to baking.
Whole Grain
Specially designed to handle heavier, denser doughs made from whole grains. This setting often includes extra kneading and longer rising times.
Dough
Perfect for those who want to prepare the dough for pizza, rolls, or other baked goods but bake them separately. This setting focuses primarily on kneading and rising.
Quick Bread
This program is for quick bread recipes that do not require yeast. It’s faster and relies on baking powder or baking soda as leavening agents.
Specialty Settings
These can include gluten-free options, artisanal bread, or sweet bread like brioche. Advanced bread makers may also offer customizable settings for more flexibility.
Understanding these settings enables you to choose the right program for your specific bread recipe, enhancing the final product’s quality.

The Science Behind Bread Making
Bread making is as much a science as it is an art. Understanding the scientific aspects can help you troubleshoot and perfect your bread.
Yeast Fermentation
Yeast is a microorganism that feeds on sugars and produces carbon dioxide and ethanol as by-products. The carbon dioxide gets trapped in the dough, causing it to rise and develop texture.
Gluten Formation
Gluten is a protein found in wheat that becomes elastic when kneaded. This elasticity traps the carbon dioxide produced during fermentation, giving the bread its airy structure. Proper kneading is essential for gluten development.
Maillard Reaction during Baking
As the bread bakes, a chemical reaction between amino acids and reducing sugars occurs, known as the Maillard reaction. This reaction is responsible for the crust’s golden-brown color and complex flavors.
These principles form the backbone of bread making, explaining why each step in the process is essential.

Tips for Perfect Bread Every Time
Even with a bread maker, some additional tips can elevate your bread to the next level.
Best Practices for Ingredient Measurement
Always use the provided measuring tools and level off ingredients for accuracy. Inaccurate measurements can lead to issues like dense bread or dough that doesn’t rise.
Choosing the Right Flour and Yeast
All-purpose flour works, but bread flour yields better results due to its higher gluten content. For yeast, use bread machine yeast or active dry yeast, but be sure to follow the recipe’s specifics.
Troubleshooting Common Issues
- If your bread is too dense, it could be due to insufficient yeast or improper kneading.
- Hollow or collapsed bread may result from too much liquid or over-proofing.
- Uneven texture often comes from inaccurate ingredient measurements or interrupted rising time.
Applying these tips can significantly improve your bread-making outcomes.
Conclusion
A bread maker is a versatile kitchen appliance that simplifies the process of making homemade bread. By understanding its components, the bread-making process, various settings, and the scientific principles behind it, you can take full advantage of your bread maker’s capabilities. Use our expert tips to troubleshoot and optimize your recipes, ensuring perfect loaves every time.
Frequently Asked Questions
How do I choose the best bread maker for my needs?
Consider the size of the bread pan, available settings, and additional features like a delay timer or customizable programs. Reading reviews and comparing models also helps.
Can I use regular all-purpose flour in my bread maker?
Yes, you can, but bread flour is preferable due to its higher gluten content, which enhances the bread’s texture and rise.
Why is my bread coming out too dense?
Density can result from insufficient yeast, improper kneading, or inaccurate ingredient measurements. Double-check your recipe and settings for best results.
